

A faint ghost of the previous screen is almost always called burn-in. Much of the time it isn’t, and it will be gone by the weekend. Occasionally it genuinely is, and nobody notices because bright documents hide it.
Telling the two apart is the whole job here. Where the dead pixel guide deals with single points and the backlight bleed guide with whether the surface lights evenly, this one deals with patterns: marks shaped like something that used to be on the screen.
Two different things
Image retention is temporary. Leave one image up for a long stretch, switch away, and a faint version lingers. It clears in minutes, sometimes days. It happens on both LCD and OLED.
Burn-in is permanent. The pixels themselves have degraded, so they no longer produce the same output as their neighbors from the same signal. Because it’s the light-emitting material wearing out, burn-in is fundamentally an OLED phenomenon. An LCD pixel is a shutter in front of a separate backlight; it doesn’t wear that way.
So “my LCD laptop has burn-in” is usually one of three other things: retention that will clear, a pressure mark in the liquid crystal layer, or a uniformity problem that was always there.
The distinction is practical rather than pedantic, because the responses are opposites. Retention rewards waiting. Burn-in gets worse while you wait.
Gray finds what white hides
The dead pixel test above fills the screen with six solid colors. It exists to find dead pixels, but the same fields work for this, in a different order.
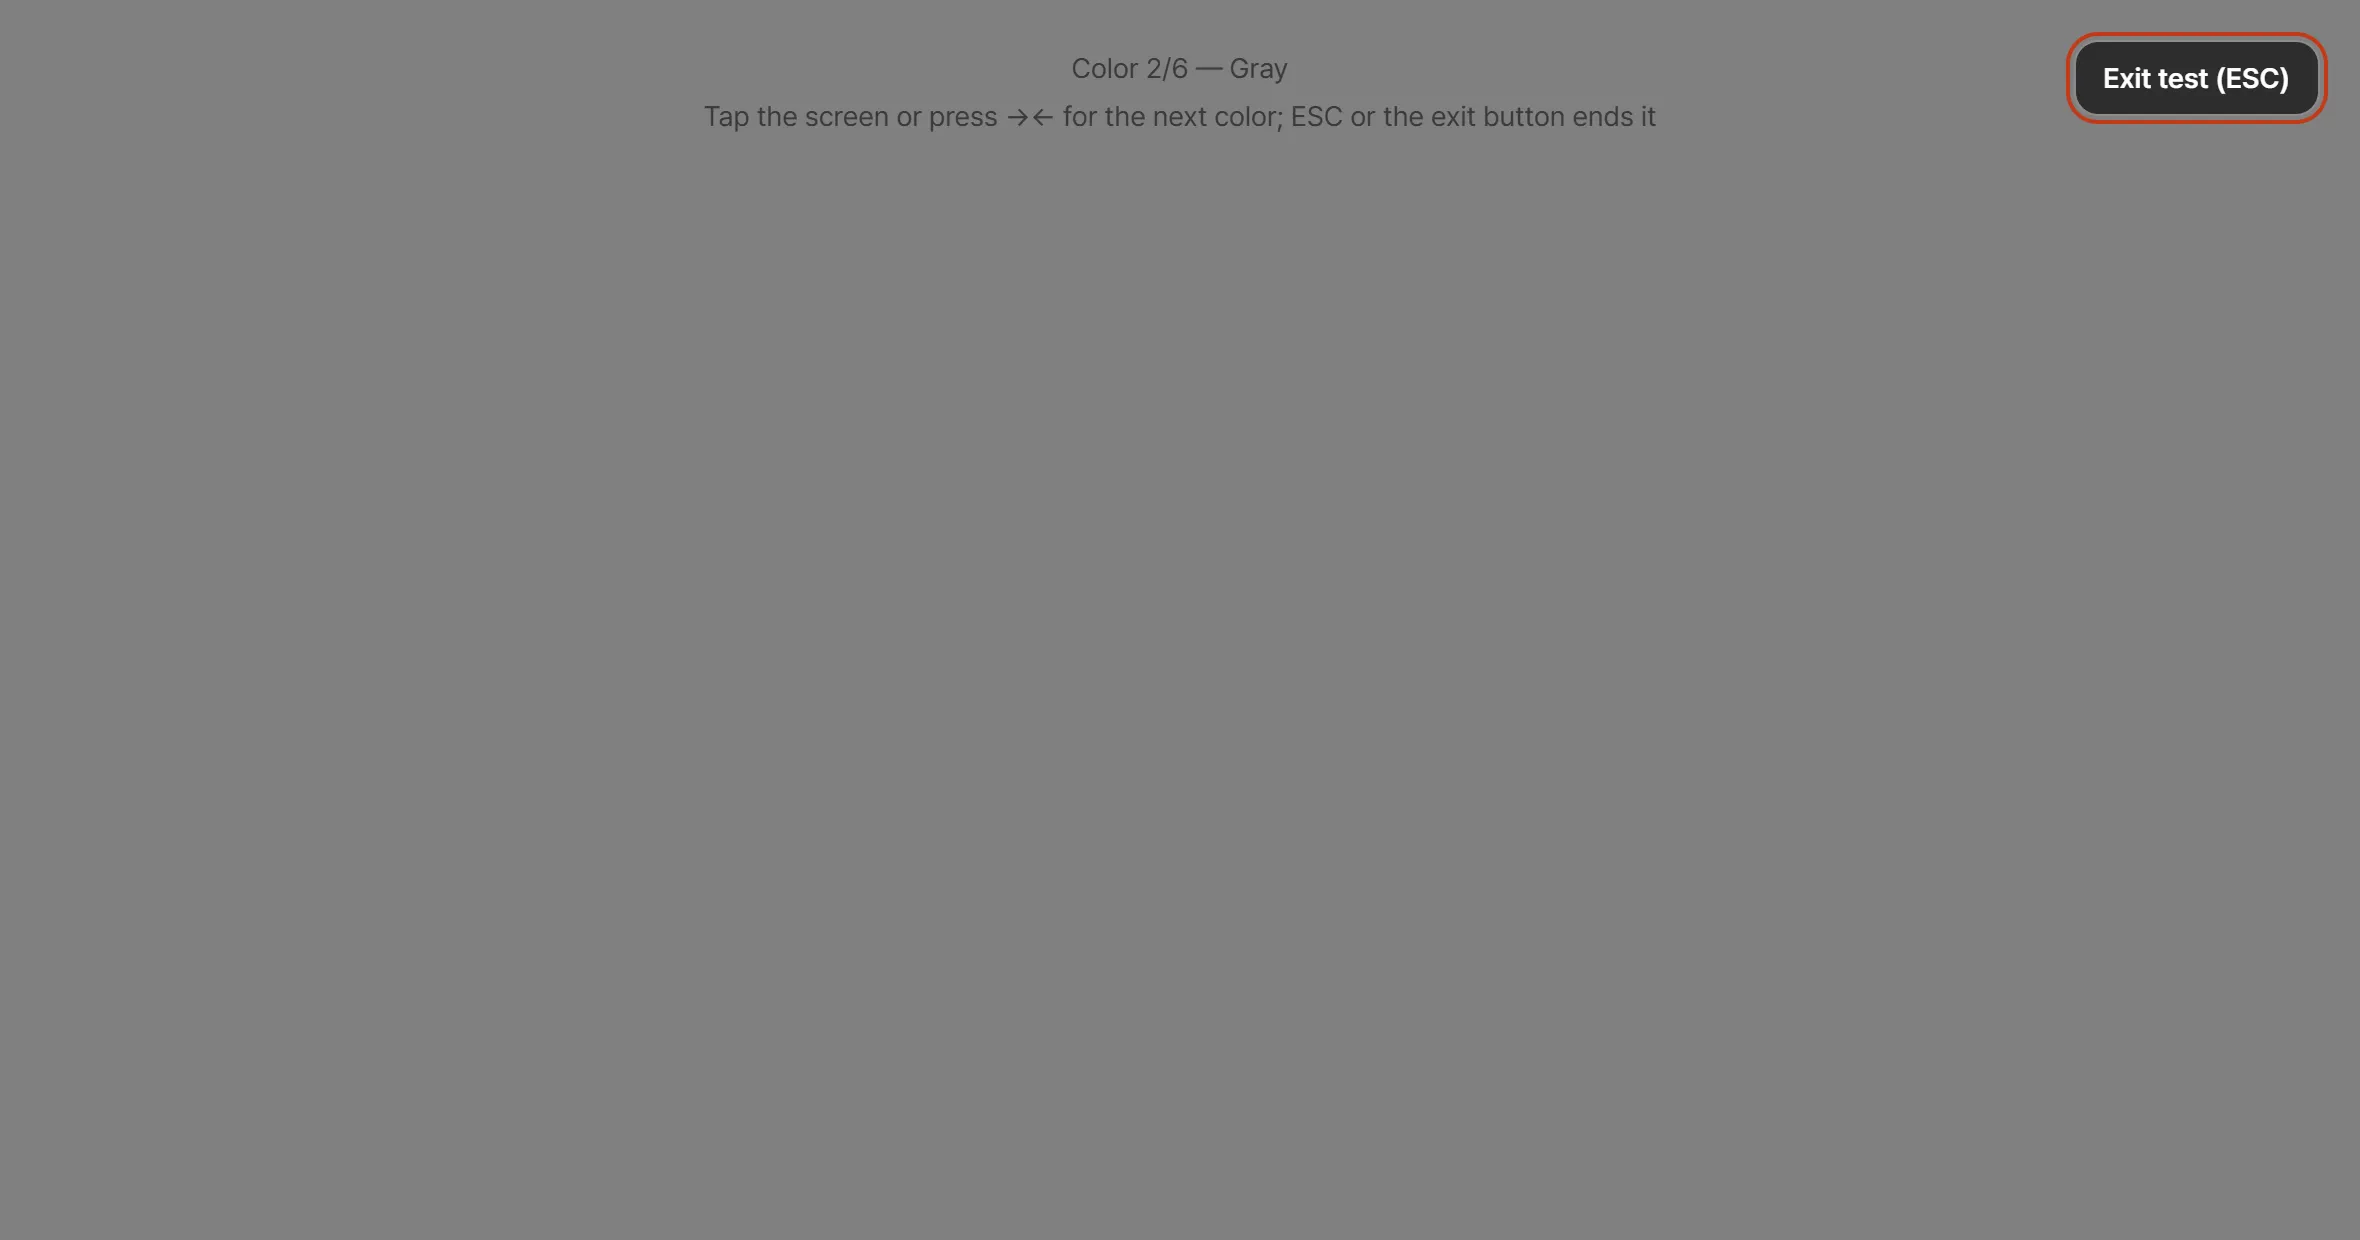
This is the field you want for burn-in: gray, the second of the six, with the position marker at the top telling you where you are.
Start with gray. Burn-in shows best at mid brightness. A white field is so bright that a few percent of difference disappears into it; a black field shows nothing at all. Gray sits where small differences read as visible shapes.
Then white, for blotches and overall uniformity.
Then red, green, and blue individually. Subpixels wear at different rates. Blue emitters have the shortest life in an OLED, so a pattern that is invisible on white can be obvious on a blue field. Don’t stop after the white screen.
Two things that make a real difference: turn the room lights down, so the panel isn’t reflecting your face and the window back at you, and clean the screen first. Dried smudges and burn-in look remarkably alike on a gray field, and one of them wipes off.
The shape tells you what it is
Burn-in doesn’t appear at random. It appears where something bright sat still for a very long time. On the gray field, check these places first:
- The status bar across the top: clock, battery, signal
- The taskbar or dock at the bottom, often with individual icons still legible
- The on-screen keyboard area, common on phones and tablets
- A game’s health bar and minimap, or a broadcaster’s logo and lower-third band
- The Android navigation bar
If the mark lines up with one of these, burn-in is likely. If it’s a soft blotch with no recognisable edges, look at uniformity or pressure damage before concluding anything.
A mark on a new device
If the gray field on a device you bought last week shows the outline of a taskbar, you did not put it there. Hours of use don’t do this.
Two things to suspect: it was a shop display unit, running the same demo loop for months, or it’s a returned or refurbished unit sold as new. Either is worth raising with the seller, and both are much easier to raise on day one than a month later.
That’s the argument for running a gray field the day a device arrives. A dated photo from the first day settles the “was it always like that” question. Without one, that conversation rarely goes your way.
Don’t file the claim yet
Found a pattern? One sequence, in this order.
Record first, then wait. Photograph the gray field, note the date, then spend a few days deliberately using the screen differently: move bright windows around, enable taskbar auto-hide, don’t leave anything static for hours. Retention fades over that window. If it’s gone, the panel is fine and you saved yourself a return.
If it’s identical several days later, it’s burn-in. You now have two dated photographs showing it didn’t move, which is a far stronger position than one photograph and an assertion.
Many OLED devices include a pixel refresh or panel refresh routine that runs with the screen off, compensating for uneven wear over several minutes to an hour. It can help at the retention stage. It cannot restore pixels that have already degraded.
Making it less likely from here
If you own an OLED panel, habits meaningfully affect how long it stays clean.
- Run it as bright as you need and no brighter. Wear rate scales hard with brightness; permanent maximum is the worst case.
- Auto-hide the taskbar or dock. The most direct way to remove an always-on element from a fixed position.
- Shorten the screen-off timeout. Static content displayed to an empty room adds up faster than people expect.
- Dark mode genuinely helps on OLED, where black pixels are switched off and therefore not ageing. On an LCD it makes no difference to panel life.
What this check can’t tell you
Everything you do with solid color fields is relative comparison by eye. There’s no absolute brightness figure and no measurement of how far a color has drifted. “The top left is darker than the area around it” is as far as it goes, and whether that crosses a warranty threshold is the manufacturer’s call.
Burn-in coverage varies more than most warranty terms. Some treat it as wear and exclude it outright; others cover it within a defined period. Check the warranty document for the product you actually bought, not a forum thread about a different model.