

The cable is in and the monitor is still black. Most people buy a new cable at this point. The cable is rarely the problem.
Video leaves a graphics chip and crosses a port, a cable, and the monitor’s input stage before it becomes a picture. Each of those breaks for different reasons, and every one of them looks identical from the outside.
This guide covers no picture at all. If you get a picture but the refresh rate won’t go up, that’s how to check a monitor’s refresh rate; if the picture flickers, screen flicker.
Start at the monitor’s input selector
The most common cause, and reliably the last one checked.
The monitor is watching a different input. On a display with HDMI 1, HDMI 2, DisplayPort and USB-C, plugging into HDMI 2 while the monitor is set to HDMI 1 gets you a black screen. Auto-switching exists on some models, is absent on many, and is unreliable on the rest.
Use the monitor’s own buttons and select the input manually. Look at which socket the cable is physically in and choose that one. This resolves an enormous share of cases on its own.
Power and standby. An amber power LED means standby, waiting for a signal. Unlit means a power problem instead.
Test the monitor by itself. Connect anything else: a games console, another laptop. A picture there confirms the monitor is fine.
If you’re connecting over USB-C
Identical connectors, different capabilities. A lot of failures live here.
The port has to be able to output video. A USB-C socket carries video only if it supports DisplayPort Alt Mode, and a laptop commonly supports it on some of its USB-C ports and not others. A DP icon or a Thunderbolt lightning bolt marks the ones that do; an unmarked port may be data only.
Moving the cable to a different USB-C port is the fastest test available.
The cable has to carry video too. Many USB-C cables sold for phone charging run at low data rates and can’t carry a display signal. Use the one supplied with the monitor, or one that explicitly states video support.
Remove hubs and docks. Either the hub doesn’t pass video, or several devices are sharing bandwidth and video is losing. Connect directly and compare.
The laptop’s display output mode
On Windows, press Win + P. Set to “PC screen only,” nothing is sent out at all. Choose Duplicate or Extend.
Still nothing? Settings → System → Display, and press Detect to force a search for displays that weren’t picked up automatically.
On macOS, System Settings → Displays, hold Option, and a Detect Displays button appears.
A resolution the monitor can’t accept also presents as a black screen. If the display is detected but shows nothing, set a lower resolution from the laptop’s own screen.
Which GPU is that port wired to?
A problem specific to laptops with discrete graphics.
Video ports are physically wired to one GPU or the other. It’s common for HDMI to hang off the integrated graphics while USB-C and Thunderbolt route through the discrete card, or some other split. Which port you use therefore changes both whether the display is detected and what resolution and refresh rate are available.
So if one port fails, try a different type of port. HDMI to USB-C, or the reverse. Some machines, gaming models in particular, also expose a graphics output mode in firmware setup.
Cables and adapters
Now it’s worth looking at the cable.
Substitute a different one. Video cables fail internally while looking perfect, especially where they’re unplugged often.
Length. Past about three metres, high resolutions get unreliable. Try a short cable to check.
Adapters have a direction. An HDMI-to-DisplayPort adapter and a DisplayPort-to-HDMI adapter are different products. Most passive adapters work one way only and produce nothing at all when used backwards. Check the arrow on the packaging.
Don’t stack conversions. USB-C → HDMI → DisplayPort multiplies the number of things that can fail.
The order that saves the most time
- Set the monitor’s input to the socket you actually used
- Check the output mode:
Win + P, or Detect Displays on macOS - Try a different port, preferably a different type
- Remove any hub or dock and connect directly
- Swap the cable
- Connect the monitor to another device to test the monitor itself
Steps 1 to 4 cost nothing and take five minutes. Buying a cable can wait until after them.
Detected, but the picture is wrong
Different guides from here:
- Refresh rate below the rating → how to check a monitor’s refresh rate
- Flickering or momentary blackouts → screen flicker
- Dots or patches on the panel → run the dead pixel test above and step through the solid colors
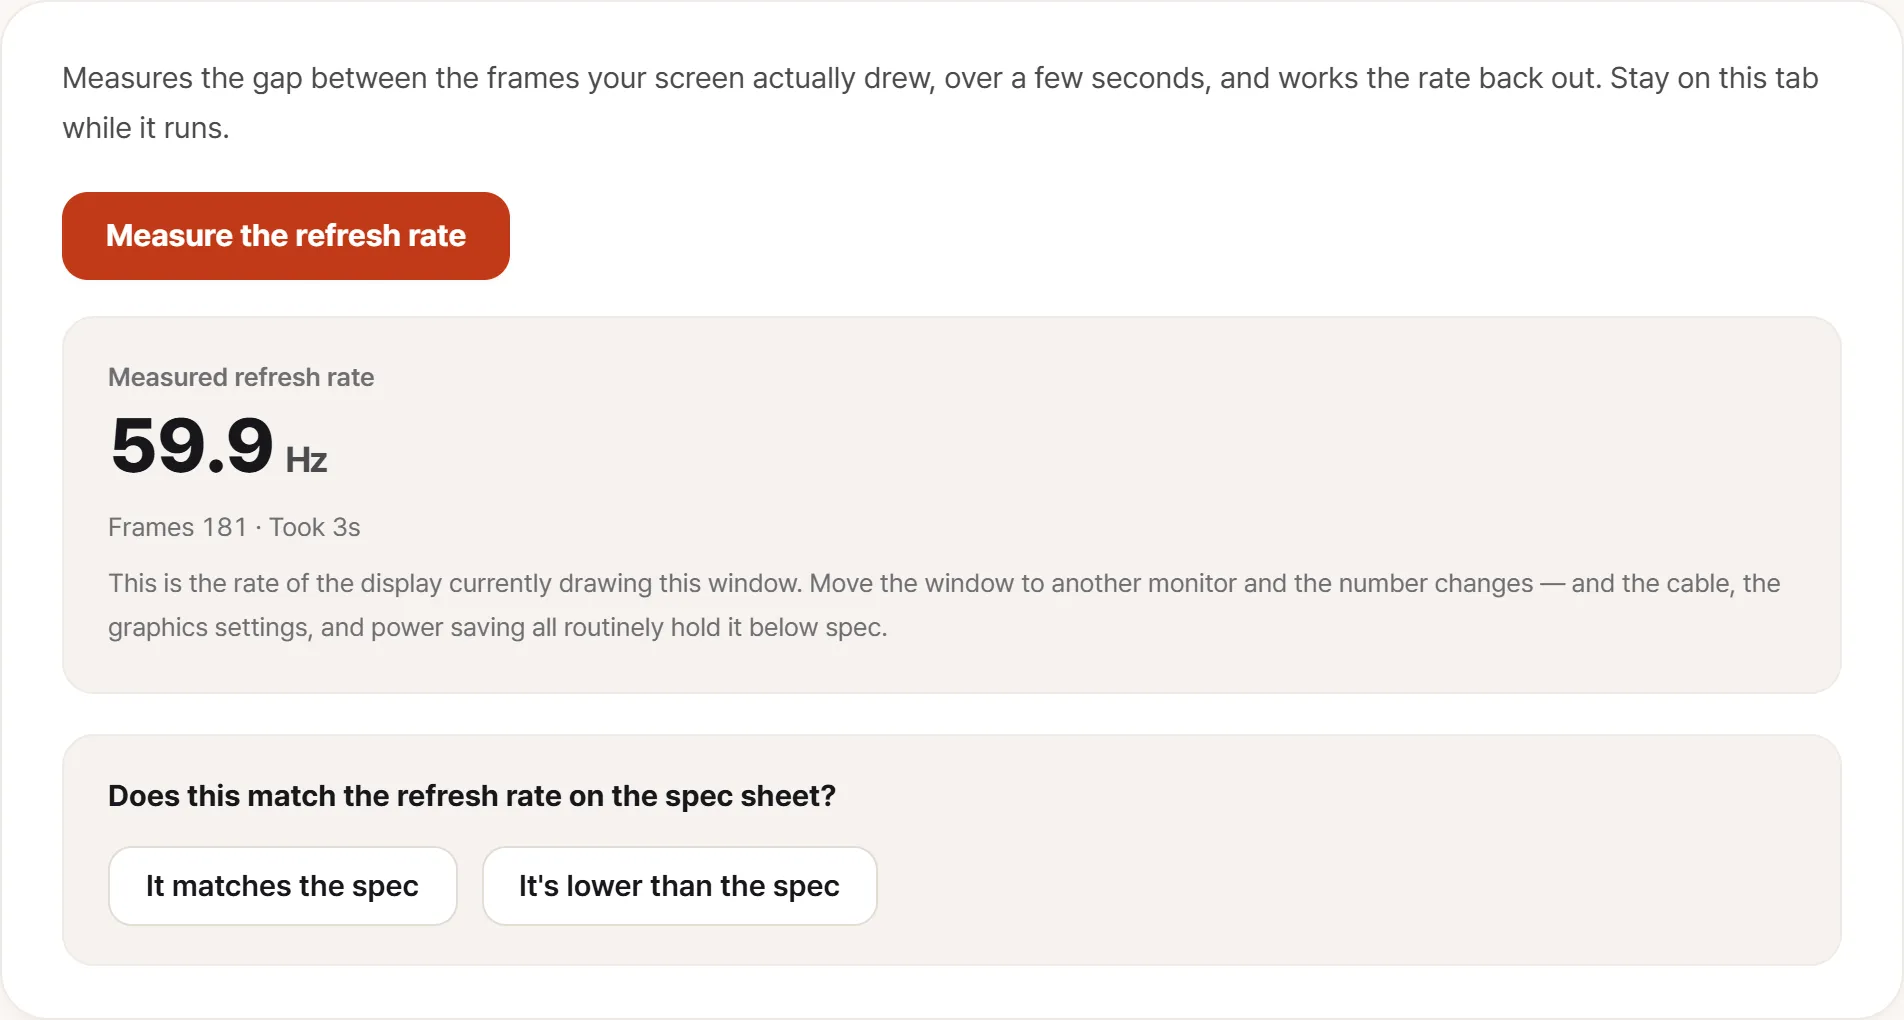
Once it’s detected, measure the refresh rate before you call it done. A link that took some persuading to come up often settles below spec.
On a monitor you’ve just bought, doing that solid-color pass as soon as it’s connected is worth the few minutes. It’s the only point at which a pixel fault is still inside the return window.
If a new monitor won’t connect
Check the supplied cable first. Monitors ship with minimum-specification cables, and some ship with none at all. Returning a working monitor because no cable was in the box does actually happen.
Then connect it to a different device before contacting anyone. A claim that hasn’t separated “monitor faulty” from “laptop faulty” usually comes straight back.
What to have ready:
- Every port and cable combination you tried
- The monitor’s power LED color: amber means no signal arriving, white means a signal with no image
- Whether it works on another device
- Whether another monitor works on this laptop
Those last two lines settle which of the two is faulty before anyone opens a case.